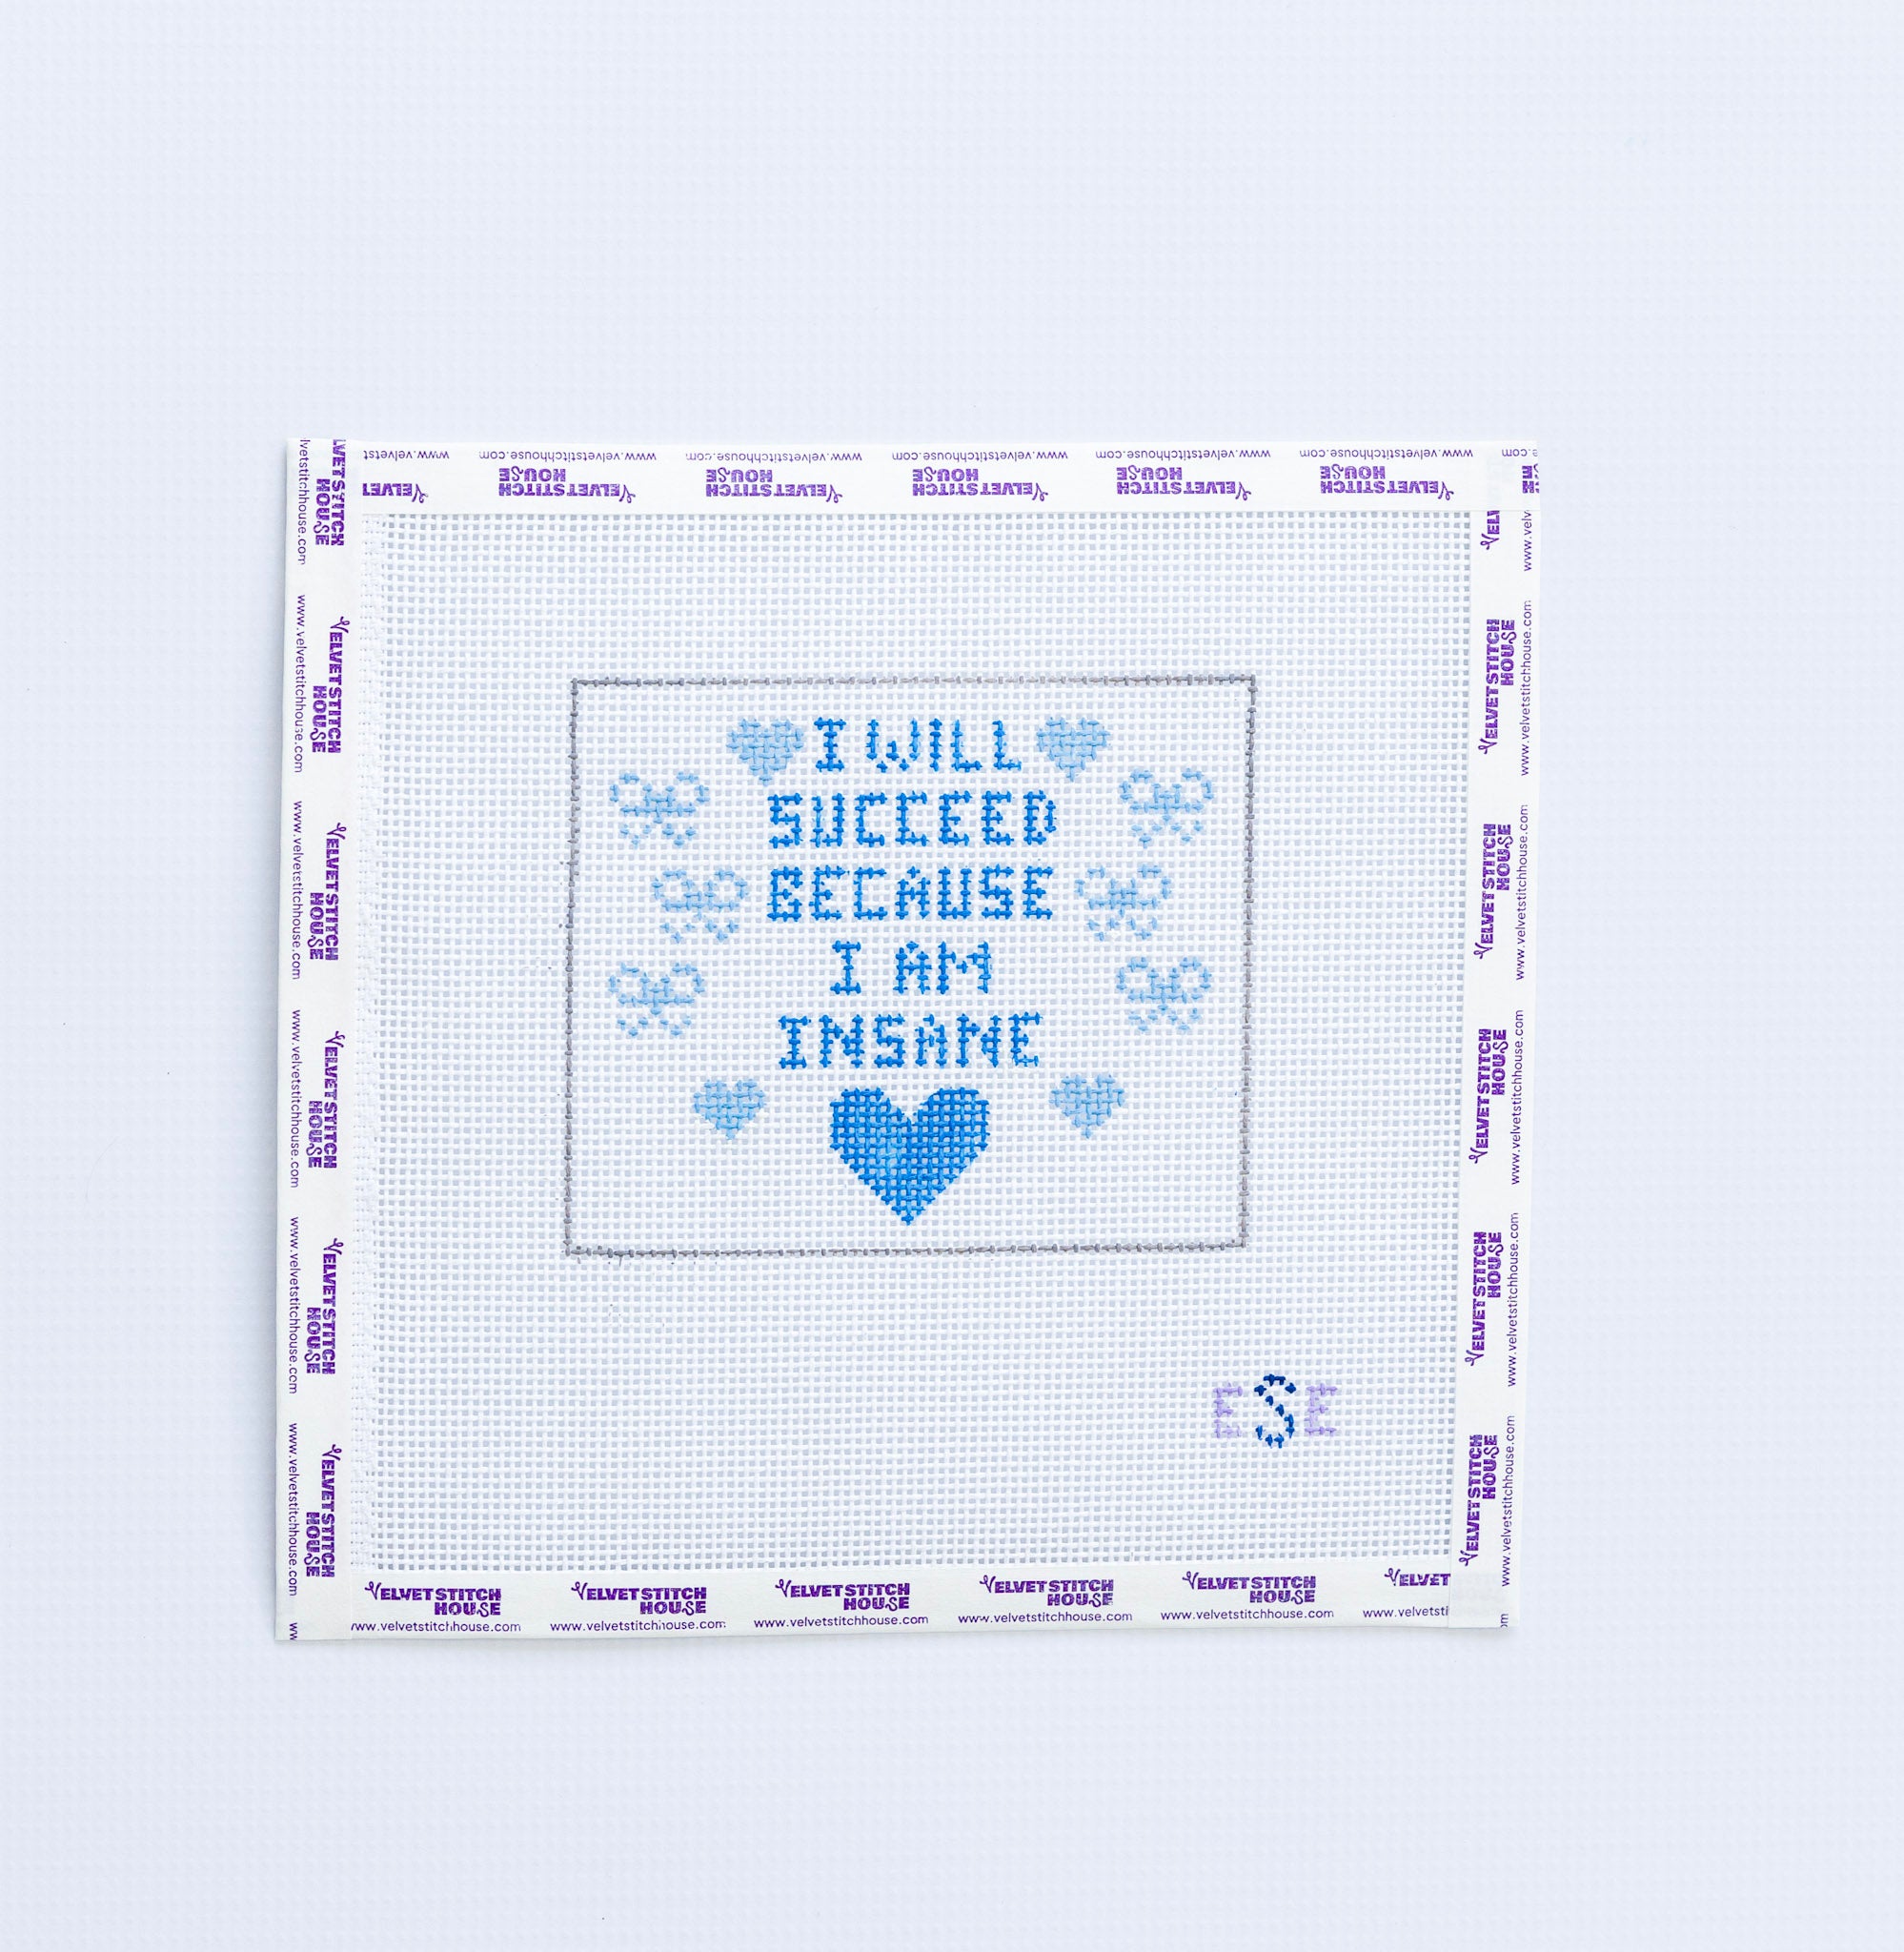
The 3 Needlepoint Stitches Every Beginner Should Learn First
Getting started on your needlepoint journey can feel a little bit intimidating, but it actually doesn’t have to be all that complicated. There are a ton of different stitches you can use in your projects, but the truth is, you really only need to know a few to begin. Once you have the basics down, you can build from there.
We always recommend starting with three stitches, two that are foundational tent stitches and one that’s more of a decorative background stitch for when you’re ready. Just these three stitches can carry you through most projects, once you have them down.

The 3 Needlepoint Stitches to Start With

Continental Stitch
Continental Stitch
The continental stitch is the perfect needlepoint stitch for a beginner needlepoint enthusiast and it's technically the only stitch you need to learn to truly start. It’s a tent stitch, so it creates small diagonal stitches as you move across your canvas. You work one stitch at a time, moving across in rows. When you’re ready to change directions, you simply move down to the next row and reverse the direction you were moving your stitch.
It’s easy to pick up, controlled, and a great stitch for smaller areas or sections with a lot of detail.
HOW TO START
Bring your needle up through the back of your canvas at the bottom left of a stitch, then down at the top right. Continue working one stitch at a time across your row until you reach the end of your row or end of your thread, keeping your stitches consistent in direction.
Basketweave Stitch
Basketweave Stitch
Basketweave is a good beginner stitch as well and, depending on your canvas, might even be a better choice than continental.
It’s another of the tent stitches, but it works a bit differently than continental.
Rather than stitching along straight horizontal rows, with basketweave, you’ll stitch in diagonal rows across the canvas. It’ll make a big difference in how the end result turns out.
Basketweave stitch will give you better coverage (especially over large backgrounds and open areas), help the canvas keep its shape better while you’re working, and create a more even overall finish when your needlepoint projects are completed.
There’s slightly more of a learning curve with basketweave than with continental, but once you get the process down, it’ll become one of your favorite go-tos
HOW TO START
Begin in one corner of your canvas and work in a diagonal direction, moving up and down in a zigzag pattern. You’ll stitch a row diagonally, then come back the other direction on the next row. It may feel unfamiliar at first, but focus on following the diagonal path rather than thinking in straight lines.
Diagonal Mosaic Stitch
Diagonal Mosaic Stitch
Once you’ve got the two foundational tent stitches down, you might be feeling like it’s time to dive into the world of decorative needlepoint stitches. The diagonal mosaic stitch is the perfect choice.
Slightly more advanced than tent stitches, but still pretty manageable for beginners, diagonal mosaic stitches are made up of small groups of stitches that create a subtle pattern across the canvas. It’s a great choice for a background stitch or large area because it adds texture and interest to the canvas without overpowering the design.
Ready to take things up a notch? This is a great place to start.
HOW TO START
Work in small groups of three stitches: one longer stitch, followed by a shorter one, then another longer stitch, arranged diagonally. Repeat this pattern across your canvas, keeping your spacing consistent so the texture builds evenly.
Why These 3 Basic Stitches Are Best for Beginners
We love these three stitches because they give you a good foundation, and then help you build on your skills. Continental and basketweave stitches are the foundational tent stitches you’ll want to start with. They’ll help you learn to understand tension, direction, how thread feels as it moves through the canvas, and more, all without adding unnecessarily extra complexity.
Diagonal mosaic is a more decorative background stitch, making it a great slight step up from your foundational tent stitches. It’s a stitch you don’t need to know, but one that will help you level up your skills a bit. It’ll add texture and pattern to your project, but won’t feel too intimidating or overwhelming for beginners.

When you add them all together, you’ll get:
basketweave
A go-to option for better coverage over larger areas
diagonal mosaic
A simple way to add texture and visual interest when you’re ready
It’s a relatively easy progression that helps you grow your skills naturally, without feeling unmanageable.

WHY START WITH CONTINENTAL STITCH
Trying something new can feel intimidating, and that’s the exact reason why you should start with continental. Continental stitch makes needlepointing feel a bit more intuitive because it’s a straightforward stitch with easy, repeating patterns.
Continental stitch teaches you how your needle moves through the canvas. It’ll let you get used to tension and stitch placement without having to think too much about which direction you’re supposed to be going or how your pattern should look. It eases you into things.
Once you feel comfortable with continental, you’ll have a natural jumping off point for basketweave and then eventually decorative stitches, if you’d like. Everything will feel more manageable if you master continental first.
Needlepoint is meant to be something you settle into over time, not something you have to perfect right away.
WHAT'S A TENT STITCH?
Now that we’ve introduced the idea of tent stitches, we should break down what a tent stitch actually is. A tent stitch is the most basic kind of needlepoint stitch. Essentially, it’ll make a small diagonal stitch across a single canvas intersection.
Simple, versatile, and foundational for many projects, the family of tent stitches includes two of the most commonly used stitches: continental stitch and basketweave stitch. They look pretty similar from the front of the canvas, but the way they’re created and how they behave on the canvas is a bit different.

How to Start Stitching on a Needlepoint Canvas
When you’re ready to get started, you’ll need to know how to actually begin.
First, you’ll want to cut a comfortable length of thread (generally, you should start with a piece of thread about the length of your forearm) using embroidery scissors or other small scissors. Then, you’ll want to thread your tapestry needle through the eye of the needle. Make sure you’re not using a sewing needle (they have a finer tip than tapestry needles, which have a slightly duller tip). Once your needle is threaded, bring the point of the needle up through the back of the canvas where your first stitch should start.
You don’t need to tie a waste knot at the end of the thread (unless you’d like to). You can simply leave a short tail of thread at the back of the canvas instead of tying a small knot, then hold it in place with your first few stitches. The stitches will secure the thread to the canvas to keep it in place.
Then, you’ll keep stitching through the intersections of the canvas, following the stitch pattern you’ve chosen to use (like continental tent stitch or basketweave).
It may take a few stitches to get a handle on things, but you’ll pick it up quickly.
FREQUENTLY ASKED QUESTIONS
What’s the difference between continental and basketweave?
What’s the difference between continental and basketweave?
Both continental stitch and basketweave stitch are a variation of the tent stitch, which make them look similar from the front of the mesh canvas. The major difference is in stitch directions.
In continental, you'll stitch in a horizontal row, while in basketweave, you’ll stitch in a diagonal line. The diagonal stitching of basketweave can give you better canvas coverage and keep your canvas from warping as much as you work, so it can be a better choice than continental in some cases.
Which stitch type is the best to start with?
Which stitch type is the best to start with?
Generally speaking, continental is going to be the best and easiest stitch to start with because it’s such a quick stitch to “get”. Once you’ve got continental down, move on to basketweave.
Do I have to use basketweave?
Do I have to use basketweave?
You don’t! If you don’t feel comfortable with basketweave or don’t like it, you never have to use it. It’s still worth learning though because it can be really helpful for large areas and background areas. Plus, it’s not uncommon for stitchers to make basketweave their most frequently used stitch once they get the hang of it. So you never know!
When should I branch out into decorative stitches?
When should I branch out into decorative stitches?
You can attempt learning decorative stitches like diagonal mosaic whenever you feel ready. You don’t have to have every “basic” stitch down to a science. Once you feel generally comfortable with tent stitches, you can definitely make the jump to decorative stitches if you’d like!
What should I do if my stitches don’t look perfect?
What should I do if my stitches don’t look perfect?
That’s totally normal, especially when you’re just starting out! As you get more practice, you’ll get more comfortable with the tension and rhythm of stitching and your consistency will get better. Just focus on getting used to the process.
When you’re just getting started with a new hobby, it’s tempting to try to just jump all the way in, but starting with these basic needlepoint stitches will help ease you into the process and get a hang of things. As you continue to practice, your stitch skills continue to improve! And when in doubt, reach out to your local needlepoint shops. They're a great source of recommendations, resources, and more.
You'll be making professional-looking pieces in no time!
Looking for your first project (or second)?
Shop our curated collection of beginner-friendly canvases.